


Keys
Keys store a value at a given time in animation. This time is measured in frames. Most animations have 24 frames in a second, so, if at frame 1 there's a key frame that says the value is 0, then on frame 24 there's a key frame with the value of 5. In the time-span of one second, that value changes from 1 to 5. The way this value changes is defined by tangents. More on that later.Set-up
We're going to create a basic animation using a sphere as the test model.Step one - Go to create>polygonal primitives>sphere.
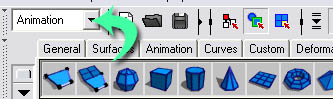
Step two - Go to the animation menu set.
Step three - Go to the timeline and set the animation range to 1 and 20. This allows for 20 frames of animation.

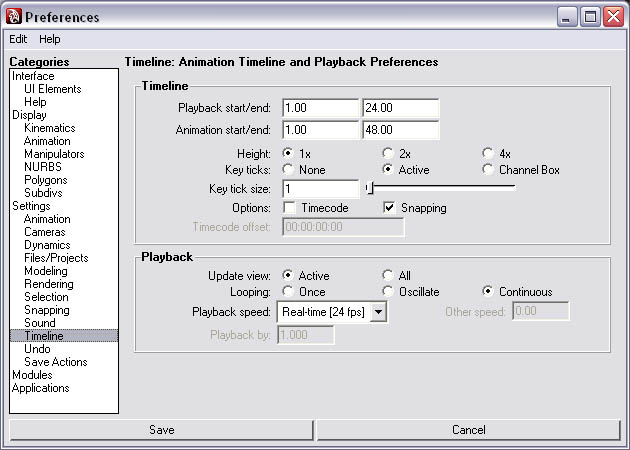
Step four - Go to window>settings/preferences>preferences. Go to timeline and set the Playback Speed to real time(24 fps). Close the preferences.
Step five - Select your sphere and go to animate>set key. Now we've set our first key frame. This key frame has all its values at 0 because the sphere hasn't been moved.
Step six - Go to frame 10.

With the model still selected, go to window>attributes editor. Go to the tab pSphere1. This tab contains all the transformation information.
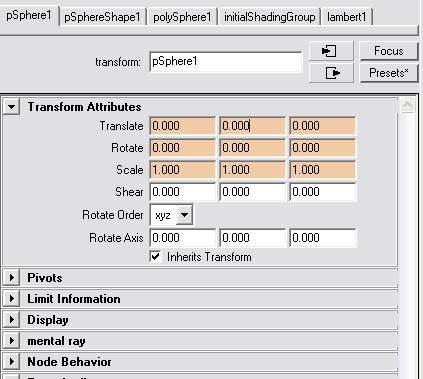
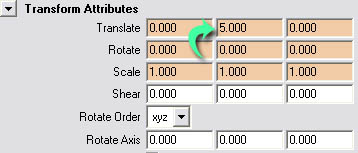
The attributes in red are attributes that have key frames assigned to them. Select the center translate attribute; this is the Y axis (up). Set it to 5.
 Now set another key.
Go to frame 20. Once again, set the Y translate attribute to 2. Now set another key.
 Now that we've set the key frames, play the animation. The linked YouTube video has all the steps, only without audio.
Editing Key Frames
So far we've got a simple animation. Now we're going to change the key frames in the graph editor.Step one - Go to window>animation editors>graph editor.
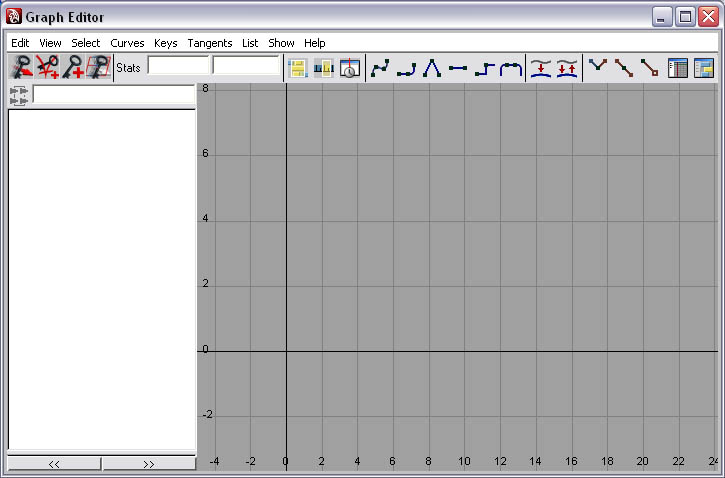
Step two - Select your sphere and you can see its key frames in the graph editor.
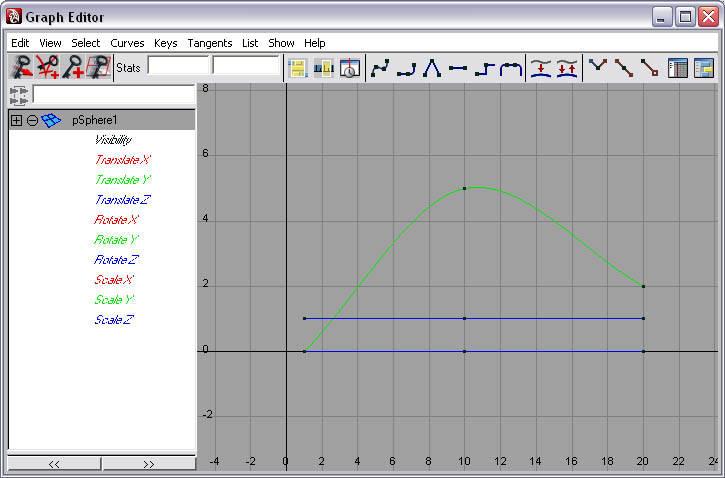 Step three - First look on the left side of the graph editor. Here are all the attributes that have key frames for the sphere.
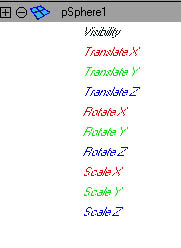 On the right side, you can see all the key frames. The numbers going
vertically up the side of the graph represent the value for that key.
The numbers going along the bottom of the graph represent the key
frame's position in time. The curves represent the transition from one
key frame value to another.
On the right side, you can see all the key frames. The numbers going
vertically up the side of the graph represent the value for that key.
The numbers going along the bottom of the graph represent the key
frame's position in time. The curves represent the transition from one
key frame value to another.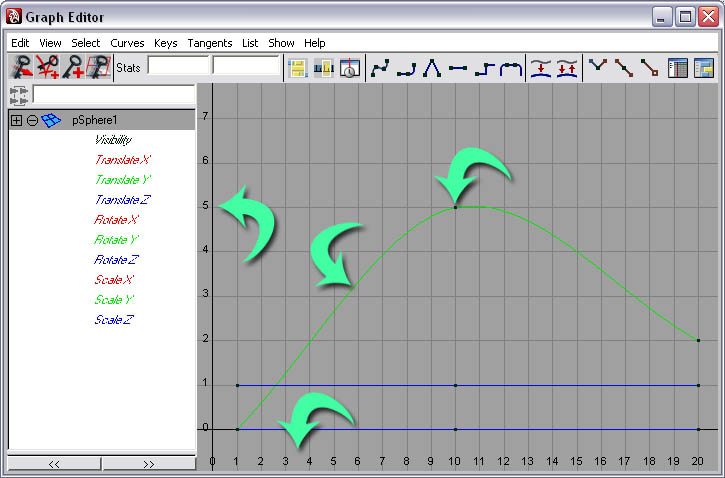 The key frame we're looking for is the Y axis key frames; that's the one that we changed the value.
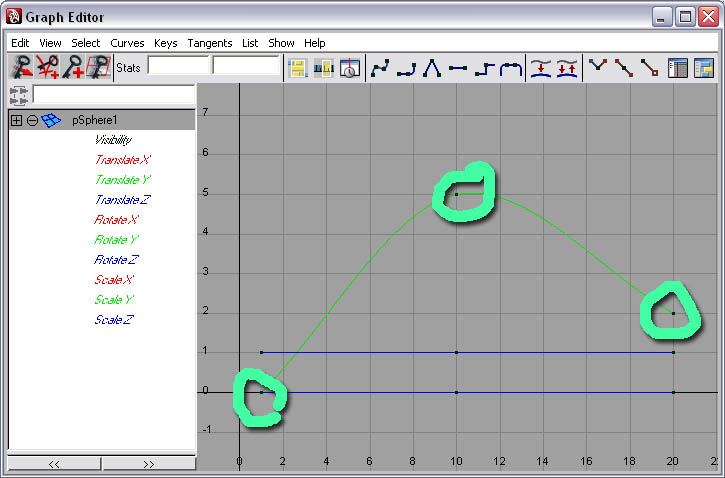 Since the other curve's value didn't change over the set key frames, their curves are flat.
We only need to work on the Y translate axis right now, so select it on the left side. This will allow us to only display the selected keys.
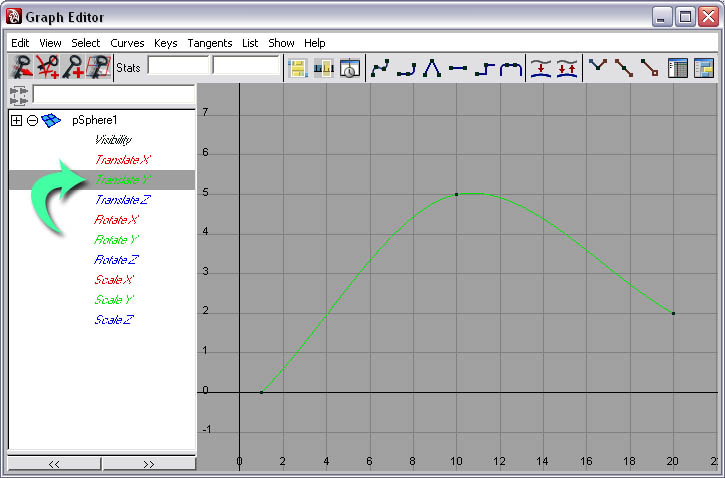 You can select multiple keys by holding Shift and selecting multiple keys.
Moving Keys
The fundamentals of working with an animation is being able to change the key frame's position on a graph.Step one - Click on the key frame at frame 10.
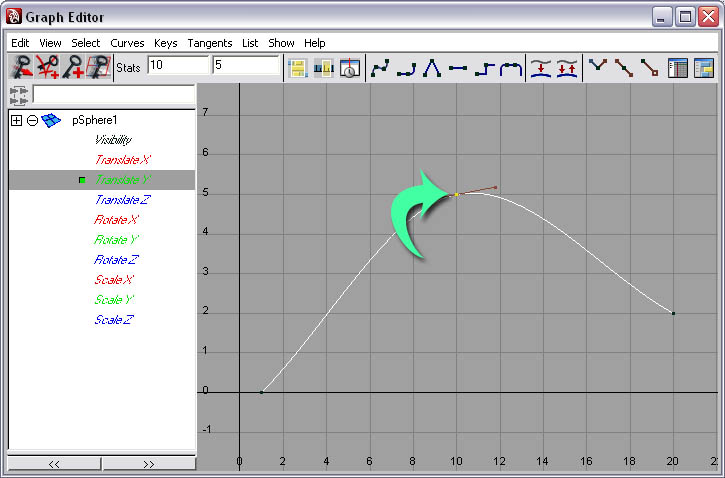
Step two - Go to edit>transform tools>move key tool. Middle mouse button click on the key frame. Now hold and drag it sideways to frame 13.
 Now our key frame sits at frame 13. But there's another way of moving
key frames. Look at the two stats fields. They should now say 13 and 5.
This means that the key frame is at frame 13 and its value 5. Using the
fields, change the value to 8. You'll see the key frame on the graph
move up.
Now our key frame sits at frame 13. But there's another way of moving
key frames. Look at the two stats fields. They should now say 13 and 5.
This means that the key frame is at frame 13 and its value 5. Using the
fields, change the value to 8. You'll see the key frame on the graph
move up.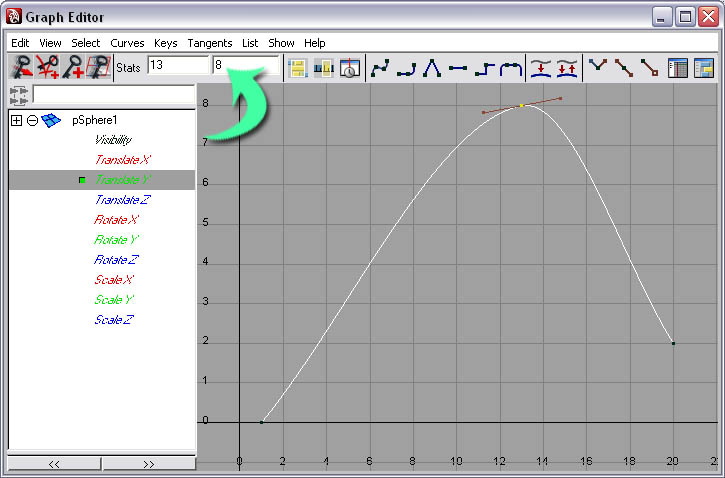 You can also change what frame it's on by using the frame's field.
Tangents
Tangents allow you to change the way values are processed between key frames.By default, these values have a smooth interpolation between the key frames. For more on interpolation, read this wiki page.
link
This interpolation can be changed. Select the key frame that we've been working with and go to tangents>linear.
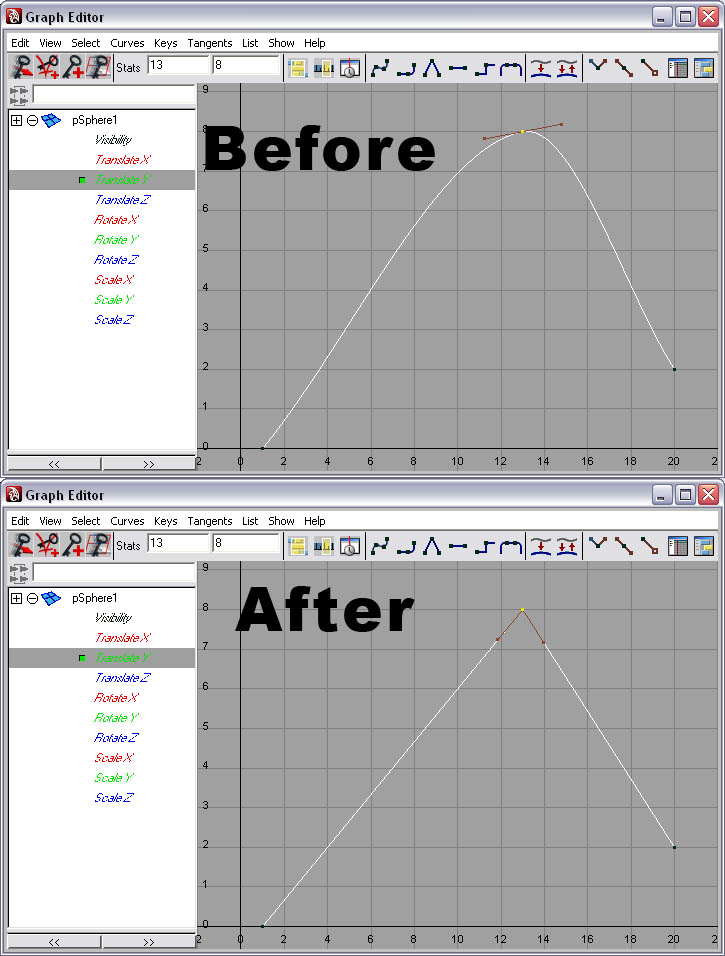 Note: There are other tangent options to change the interpolation
between keys. The best way to learn them is to try them all out.
Note: There are other tangent options to change the interpolation
between keys. The best way to learn them is to try them all out.Notice how the curves change. Also, if you play the animation, notice how the sphere moves differently.
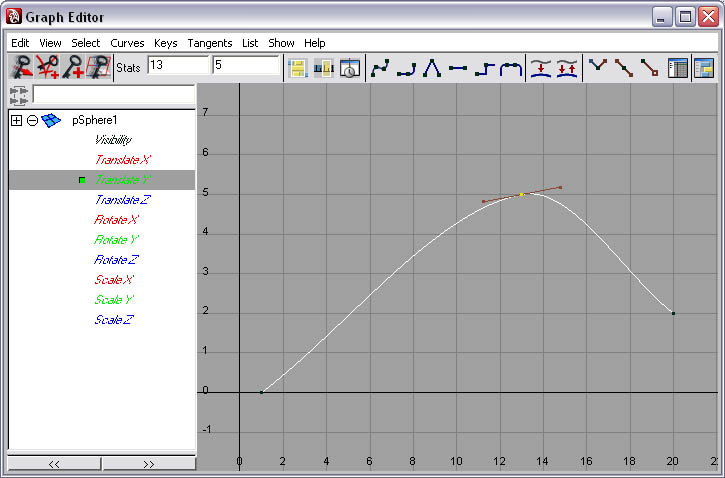
You can undo that. Now that we're back to the default tangent, select the key frame, go to the move key tool and click on one of the tangent handles.
 Middle mouse button click, hold and drag. This changes the angle of the tangent.
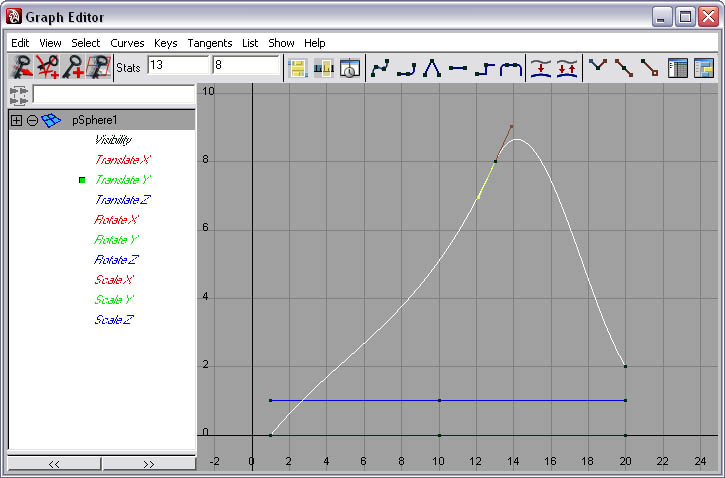 This also results in changing the value. If you change the angle to the
same angle in the image on frame 15, the value is closer to 8.7 than 8,
therefore, increasing it. This can happen when you don't want it, and
causes the animation to look bad.
As you noticed, there are two tangent handles on the key frame (one on
each side). Therefore, the tangent interpolation can be changed on each
side. So, if you wanted to set the in value tangent to spline, and the
out tangent to linear, you would go to tangents>in tangent>spline
and them go to tangents>out tangent>linear.
This also results in changing the value. If you change the angle to the
same angle in the image on frame 15, the value is closer to 8.7 than 8,
therefore, increasing it. This can happen when you don't want it, and
causes the animation to look bad.
As you noticed, there are two tangent handles on the key frame (one on
each side). Therefore, the tangent interpolation can be changed on each
side. So, if you wanted to set the in value tangent to spline, and the
out tangent to linear, you would go to tangents>in tangent>spline
and them go to tangents>out tangent>linear.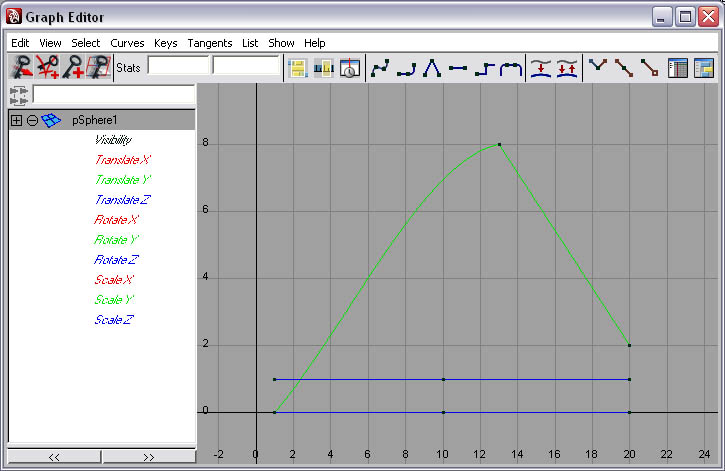
Key Frames Are Nodes
Key frames are stored in nodes. These nodes add additional options for the key frames.Step one - If it's not already selected, select the sphere.
Step two - Re-open the attributes editor if it was closed.
Step three - Go to the tab pSphere.
Right click on the Y translate axis value and go to pSphere1_translateY.output...
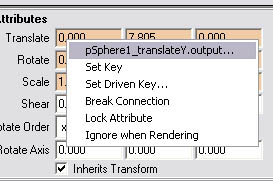 This takes you to the pSphere1_translateY node.
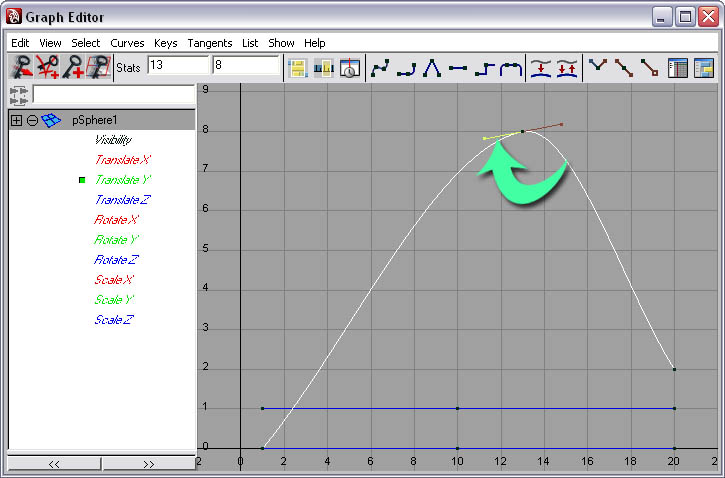
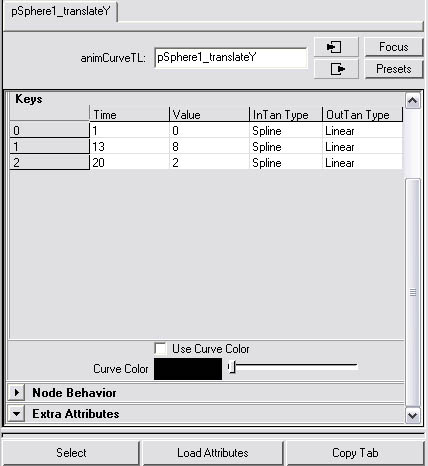 To show one of the features, check use curve color.
 Now click on the swatch to change the color to any color you need.
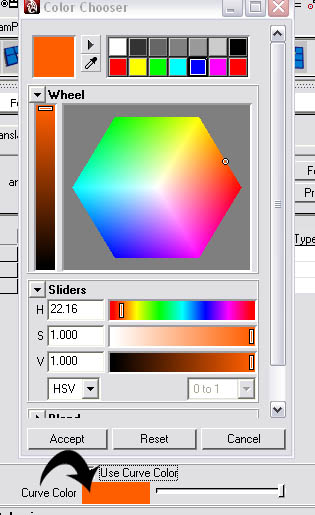 Now in the graph editor that color is used on the curves.
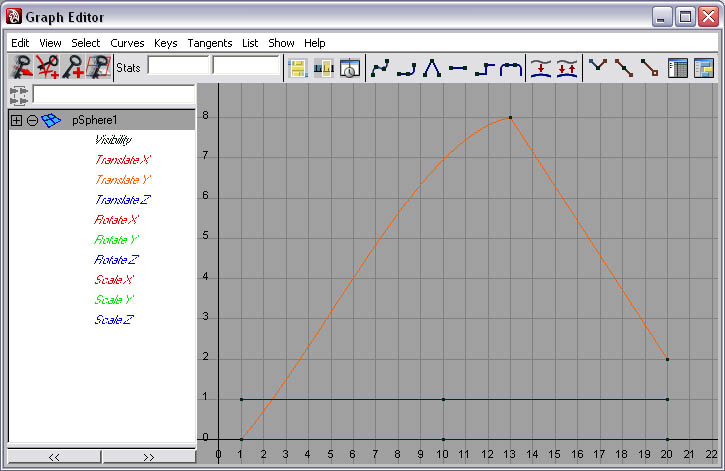 Also, that color is used on the timeline.
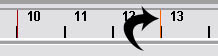 This helps the organization process if you have a lot of key frames.
Conclusion
There are many different options, tools, and features in Maya to make an animation using key frames. This covers the basics of how key frames work to get you started.Good luck.
)