

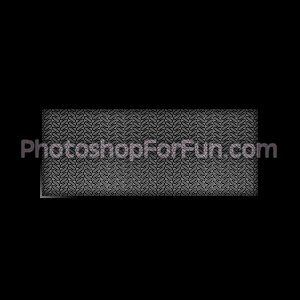
Create a rectangle using rectangular shape tool.
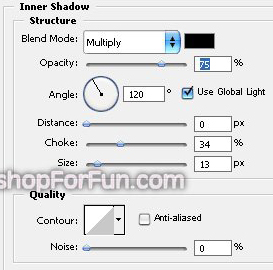
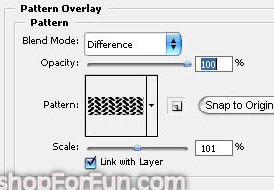
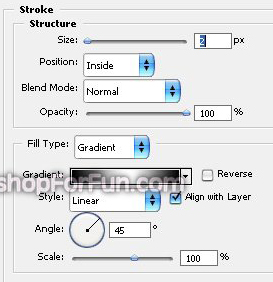
Double click the layer to open layer style window. Apply settings as shown.
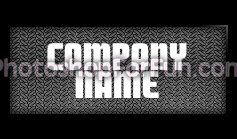
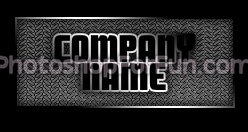
Type Company name using a bold font.
Right click the text layer in layer palette and select "Convert to shape".
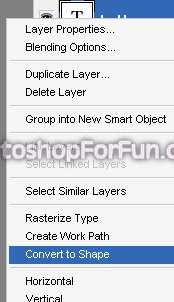
This will convert the text in to shape layer. Select the text path using path selection tool. Press Ctrl+C to copy the path. Hide this layer.
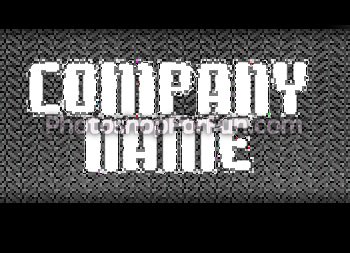
Select the rectangle layer. Select the rectangular path using path selection tool. Press Ctrl+V to paste the path. Select "subtract from shape area" from the top bar to subtract the text selections from the rectangle shape.
Select gradient tool. Create a gradient as shown.
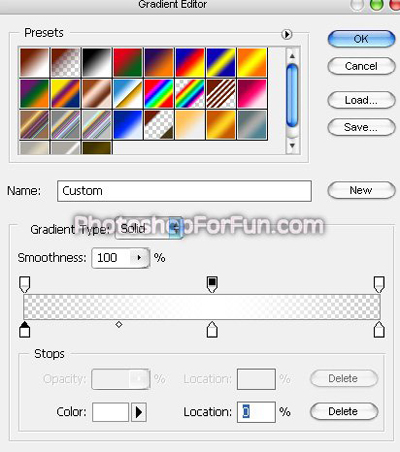
Create a rectangular selection using rectangular marquee tool. Create a new layer and fill it with the gradient as shown in the image below.

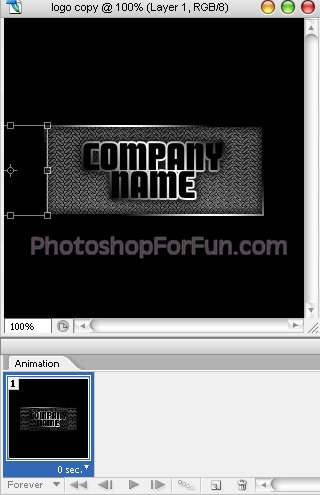
Change the layer mode to "Hard Mix".

Open animation window. For the first frame move the white layer to left as shown.
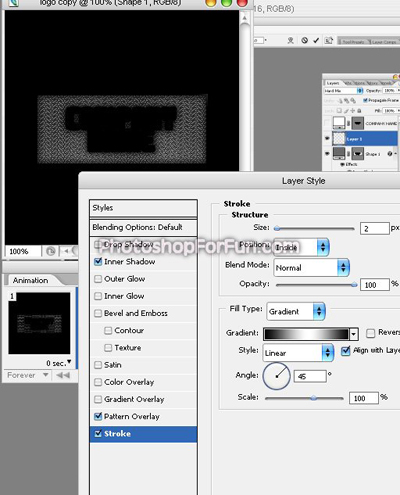
Select the rectangular layer. Double click the layer to open layer style window. Drag the stroke gradient to outside of the document.
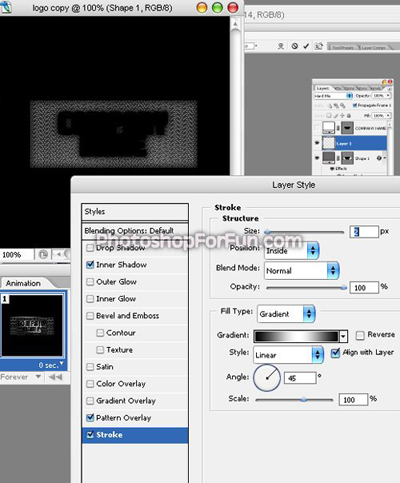
Duplicate the frame. For this frame move the white layer to right as shown.

Select the rectangular layer again . Double click the layer to open layer style window. Drag the stroke gradient to opposite corner.
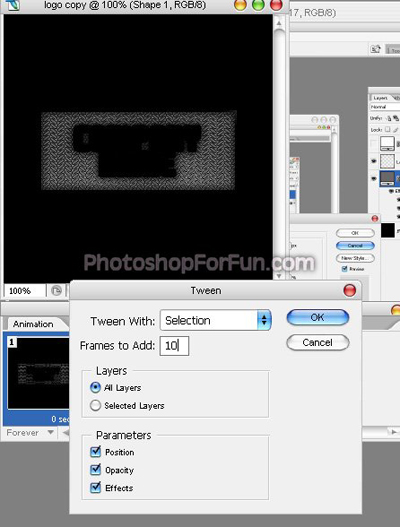
Click tween button from animation window. Apply settings as shown.
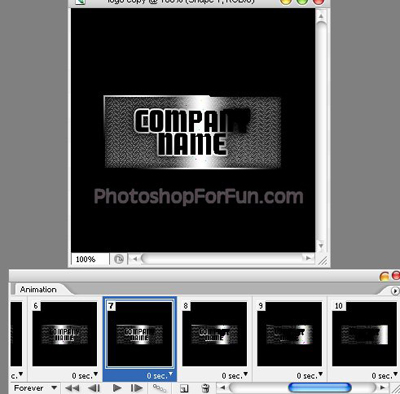
Press Ctrl+Alt+Shift+S to save an optimized animated GIF.
Double click the layer to open layer style window. Apply settings as shown.
Type Company name using a bold font.
Right click the text layer in layer palette and select "Convert to shape".
This will convert the text in to shape layer. Select the text path using path selection tool. Press Ctrl+C to copy the path. Hide this layer.
Select the rectangle layer. Select the rectangular path using path selection tool. Press Ctrl+V to paste the path. Select "subtract from shape area" from the top bar to subtract the text selections from the rectangle shape.
Select gradient tool. Create a gradient as shown.
Create a rectangular selection using rectangular marquee tool. Create a new layer and fill it with the gradient as shown in the image below.
Change the layer mode to "Hard Mix".
Open animation window. For the first frame move the white layer to left as shown.
Select the rectangular layer. Double click the layer to open layer style window. Drag the stroke gradient to outside of the document.
Duplicate the frame. For this frame move the white layer to right as shown.
Select the rectangular layer again . Double click the layer to open layer style window. Drag the stroke gradient to opposite corner.
Click tween button from animation window. Apply settings as shown.
Press Ctrl+Alt+Shift+S to save an optimized animated GIF.

)