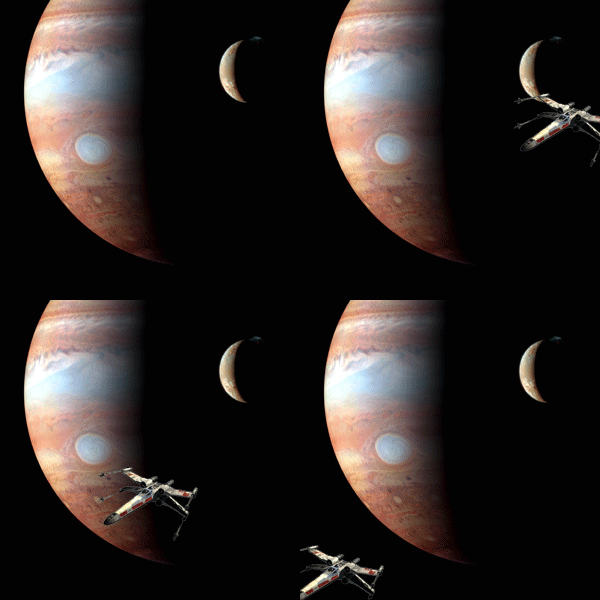
Someone I know wanted to know how to do this, so I made this up for him.
First make a new document:

and then paste in a background (if you want to have a background on your animation, such as a planet as in my example). After you have pasted in your background, delete the background layer (normally white in color) so that you are left only with the layer with your personal background image.

Next, paste in a foreground object (the part you want to animate), for this example I put in a x-wing :)

Next, duplicate the background layer many times as frames you want to have in your animation (I will have three frames in this animation, so I duplicated the background twice so I have three total, one for each frame). Also, you will want to duplicate the foreground object you are going to animate, so you have one copy for each frame (again three for my purposes).

Once you have duplicated all the items you are going to animate, then move the objects you would like around the way you want to animate them. For this example, I moved the three x-wings to be in a row, so in the animation the x-wing would fly through the picture.

Next, Ctrl click one background and one foreground element (one planet, and one x-wing for my example), and then right click and choose “Merge Layers.” Do this for every frame of your animation (make sure all the layers are “visible” before you do this – you should be able to see the eye next to each layer).

Once you have merged the layers, you should have one layer for each frame of your animation. Also, make sure they are in the order you want them to be for the animation, the first layer being first in the animation, and the top layer, being last in the animation. You then should be able to see only one copy of your foreground object (as pictured below), with the other frames underneath (which you can view by making the current layer invisible).

Then click “File” -> “Save for Web…”

Set the presets as below (making sure it is on GIF and that “Animate” is selected.

And you then should be able to preview your animation and set preferences in the lower right hand corner of the window like so:

And then save the file and use as desired! Here is the example animation in all its glory:

And that’s it!
First make a new document:

and then paste in a background (if you want to have a background on your animation, such as a planet as in my example). After you have pasted in your background, delete the background layer (normally white in color) so that you are left only with the layer with your personal background image.

Next, paste in a foreground object (the part you want to animate), for this example I put in a x-wing :)

Next, duplicate the background layer many times as frames you want to have in your animation (I will have three frames in this animation, so I duplicated the background twice so I have three total, one for each frame). Also, you will want to duplicate the foreground object you are going to animate, so you have one copy for each frame (again three for my purposes).

Once you have duplicated all the items you are going to animate, then move the objects you would like around the way you want to animate them. For this example, I moved the three x-wings to be in a row, so in the animation the x-wing would fly through the picture.

Next, Ctrl click one background and one foreground element (one planet, and one x-wing for my example), and then right click and choose “Merge Layers.” Do this for every frame of your animation (make sure all the layers are “visible” before you do this – you should be able to see the eye next to each layer).

Once you have merged the layers, you should have one layer for each frame of your animation. Also, make sure they are in the order you want them to be for the animation, the first layer being first in the animation, and the top layer, being last in the animation. You then should be able to see only one copy of your foreground object (as pictured below), with the other frames underneath (which you can view by making the current layer invisible).

Then click “File” -> “Save for Web…”

Set the presets as below (making sure it is on GIF and that “Animate” is selected.

And you then should be able to preview your animation and set preferences in the lower right hand corner of the window like so:

And then save the file and use as desired! Here is the example animation in all its glory:

And that’s it!


